
I've long wanted to paint a tee in a one-color tattoo effect with silk screens. This cotton/lycra jersey from Marcy Tilton nicely presented the opportunity. As I pondered colors, I realized silver paint would pair nicely with the soft coloring of the fabric.
I began by cutting out my TNT pattern for tops, Butterick 5215. (Yes, this is my second version for the PR contest.) I used the neckline as drafted on the original pattern, but after draping it on my front, I decided to lower it an inch. I should have added an inch to the side and sleeve seams, as the fabric has just a little stretch, but I didn't think of it at the time. Fortunately, the negative ease through the bust line looks okay. But the sleeves tend to bunch up under my arms, as they're a bit too tight. Time to get those dumb bells out!
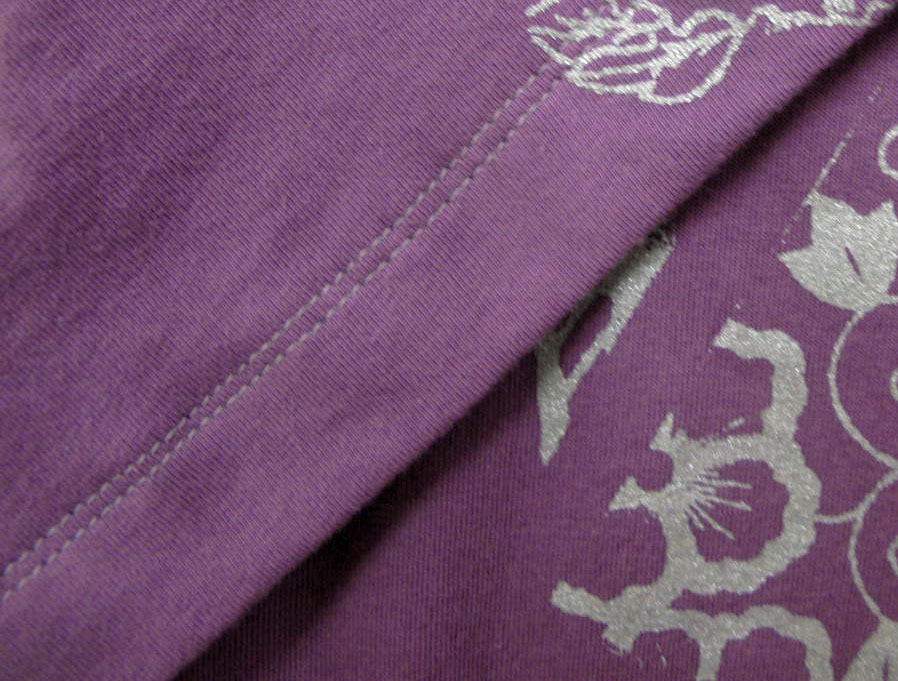
To determine the selection and placement of the silk screen images, I laid each piece out and auditioned various groupings. Once I had established the layout, I took out my disappearing chalk and drew a diagonal line from the upper right to lower left. I also drew lines to indicate where the edges of the images should fall. The fine white lines can be seen along the sides of the center image in this photo:

This chalk erases with ironing and washing. It was a great help, as each of the screens has a wide frame, and it can be tough to figure out how to align the images. Here are the screens I used for the back:

Here is the finished back. I also painted a small element on each sleeve.

To add a slight variation in the patterning, I added foil to the dragonfly images. The foil comes on thin plastic sheets. It and the adhesive it requires are available from Marcy. I also have a package by Jones Tones, but I don't recall where I purchased it. Perhaps from Dharma Trading? I see they stock it.

The foil on the left is holographic silver, and the right is silver with swirls of almost iridescent color. Funny how you can see the reflection of the camera and my hands!
The foiling process is quite easy. First, the adhesive is applied to the fabric and allowed to dry. I painted it on through silk screens, but it could be painted by hand, with a rubber stamp, or whatever. It looks like this when dry:

Once dry, the foil is placed over the image, and a hot dry iron is touched to it. Using the side of the iron to burnish the foil works well. The heat makes the glue melt and stick to the foil. Once it cools - just a minute or two is usually ok - the foil sheet is peeled off. I started with the holographic foil.


The foil sheet is clear where the foil has come off. You can see that all of the foil didn't come off. That's because the holographic foil had stuck to parts of the image. I like layering different colors of foil in this manner. On this top, I liked the swirl foil better, as it added some subtle color to the design.

Simply beautiful! Here's what the foil sheet looked like when I was finished.

The sheet can be used again and again. On future projects, if I want just parts of an image to be foiled with this color, I can place a partially used area over the glued image, burnish it with the iron, and repeat the process with a different color. Layering the colors like this makes the image more interesting, especially when solid color foils are all one has. I really lucked out with this swirled foil. I just love the effect on this tee!
Sewing the top was very straightforward. I chose pale gray thread for topstitching the neck band and the hems. I really like how the color ties in with the paint color.

I also double stitched the sleeve and bottom hems 1/8" apart. I find this easier to do than using a twin needle. I also like the closeness of the stitching lines.
This top is comfortable and fun to wear. Now I need to make up that charcoal cotton from Marcy into a pair of capris. They would look great with this top!

You are still my silkscreening goddess. Such an exquisite grouping! The foiled dragonflies are just gorgeous!
ReplyDeleteYou did agree to bring all of your silkscreens when you come visit, right?
If I ever get to SF, I promise to pack my silkscreen collection. Thank goodness it's flat!
Deleteoh, so beautiful, Dixie...I am amazed at your talent!
ReplyDeleteAw, thank you Margy. Sometimes I am amazed at my talent, and I can say this because I don't think it's "me" doing the creating. It feels so easy and natural, like some Creative Force is doing the work. I consider myself just a conduit of creative flow. I think we all have this, to one degree or another. It manifests in many ways in our lives!
DeleteI absolutely adore what you do with screen printing. I am going to Puyallup next year and I am absolutely going to get my greedy paw on some of them screens. Not that anything I do will be as awesome as your creations, but I will try!
ReplyDeleteElle, you have the ability as much as I. I know you can create beautiful things!
ReplyDeleteVery pretty, Dixie. Thank you for the detailed tutorial. I loved learning about how to do this type of embellishment.
ReplyDeleteThank you, Kathryn!
DeleteDixie,
ReplyDeleteLovely job you've done of silk screening your T. It's a gorgeous T.
Karendee
Thanks so much, Karendee!
DeleteDixie This is wonderful. I love your combination of designs and foiling. BTW, I often just stitch two rows instead of getting out the twin needle. Sometimes, it just seems faster
ReplyDeleteHi Bev! Thank you for commenting. Yes, the twin needle gives me trouble sometimes. That nice ridge it makes isn't always desirable. And getting rid of the ridge is too frustrating!
DeleteJust lovely, Dixie! Great job with the screening and foiling. I don't know though - I think those are actually damselflies! And therefore by rights they should be mine, no?
ReplyDeleteThank you, Ms Damselfly, for your compliment. And yes, the damselflies definitely should be yours. I'll cut off the corner of the foil paper where they were lifted, and mail it to you right away, ok? Damselflies in the negative. Tee hee.
ReplyDeleteThanks for sharing your secrets. You need to be teaching classes. Great stuff.
ReplyDeleteTeaching classes, well, I don't know. I think I need to learn more before I'm ready for that. But thanks for the idea!
DeleteWow. I am absolutely paralyzed at the thought of trying this and you make it look so easy! Lovely work...again!
ReplyDeleteHi Prtty - No need for paralysis. Just jump in!
DeleteThis is very cool, indeed. I love dragonflies - they are so pretty the way you've made them. The overall effect is beautiful. Do you have to take a lot of care with washing the shirt? Maybe no dryer?
ReplyDeleteThank you for leaving a comment on my post about SB fabric purchase. I had no idea you worked there - how do you control yourself?! I think I would have no self control at all. I really did appreciate the care in packaging. FM puts your fabrics in a box - and not a new box - with no protection. My last order came in a Burger King box. A simple plastic bag makes all the difference.
Thank you for your offer to mail an invoice - I think I can print one up, but if not, I'll let you know.
I am experiencing severe sewing ADD right now, and that sapphire linen is on my mind! I am going to prewash it right now, and maybe I'll make something today...
Hi Andrea,
DeleteThere is no need to keep the shirt out of the dryer, although I don't use the dryer on the garments I've sewn. It just wears them out more quickly. I do have to make sure I don't touch an iron to the foil, but I don't think a dryer on low is hot enough to matter.
Can't wait to see what you do with the sapphire linen!
Wow, this looks absolutely amazing!! I love the soft colours and that perfect silver screening; you are clever!
ReplyDeleteHi Carolyn,
DeleteThanks for visiting my blog, and for your compliments.
How cool! I love it!
ReplyDeleteReally pretty and very interesting to learn about! Great job.
ReplyDelete